Portfolio Dev (Part 2): CI/CD and Self Hosting
originally created on 2024-12-16
tags: [coding, portfolio-dev-series]
- - -
Man, I love self hosting. I love having things under my control.
I love the idea of having my own website.
I love the idea of having my own CI/CD pipeline.
I love the idea of having my own everything.
That's why...I decided to self host my website.
That's right. I sacrificed my sleep schedule (and by proxy, a couple class attendances) to do something completely personal.
Motivations
At the time of this endeavor, I was using Vercel. Vercel is great, and it's free. However...
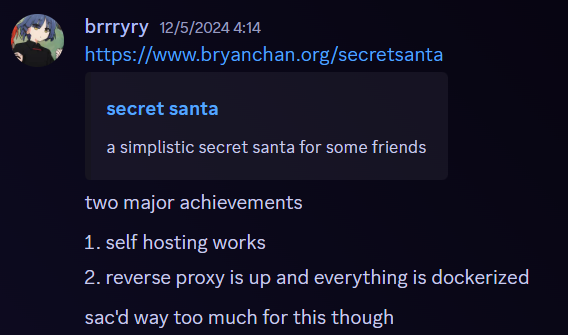
I was in the middle of deploying my Secret Santa website (blog here),
and I realized something stupid: I was using a JSON database (like, literally just a JSON file), and Vercel did not support that as a dynamic read/write file.
This was a problem. I could have used a different database, but I decided to take this as an opportunity to do something
that I wanted to do for a while - self host.
This would also give me the opportunity to learn about how websites are hosted, how to use a reverse proxy, and how to use Docker.
What could go wrong?
Game Plan
In order to host both of these websites, I needed to use a reverse proxy.
I decided to use Nginx for this.
First of all, I had to learn what a reverse proxy was. I had a vague idea, but I needed to know the specifics.
A reverse proxy (with my understanding) is a server that sits between the client and the website(s). It takes the client's request
and then forwards it to the right place. It's literally the reverse of a "proxy" - instead of many acting as one, one acts as many.
With this in mind, I wanted to dockerize my websites. This way, I could easily deploy them and keep them portable.

The architecture plan for self hosting (+ a lot of unnecessary writing)
At the moment, my server is a Ugreen NAS. They were released recently, so they're not half bad.
Currently, it's a small server that I use for file storage and other things.
I decided to put this server on a separate VLAN network so that it would be isolated from the rest of my network.
In order to fulfill this...drawing, I used Docker. Below is the architecture I used for this endeavor:
I made a Nginx Docker container that would listen on port 80. I then made a configuration file that would forward requests to the right place.
At the moment, I had two websites: my portfolio and the Secret Santa website for my friends (blog here :3).
Each of these websites had their own Docker container and their own port. They also had their own Docker files.
In order to make sure that the Secret Santa website was functional, I had to adjust the NextJS configuration for that app (specifically the base URL).
After this, I made a Docker Compose file that would run all of these containers.
All of these containers are run on the same network so that they can communicate with each other.
Simply running docker compose up would start all of these containers seamlessly.
So far, this was fine. I could run the containers on my local machine, and the websites would be reachable on localhost.
But...I wanted to make this accessible to the world.
The Domain
The domain of this website (as of right now, bryanchan.org) has been a domain that I have owned for a while.
When I deployed my portfolio website on Vercel, I just changed my DNS records to point to Vercel's servers.
However, I wanted to self host.
This meant that I had to learn about how DNS records worked. I had to learn about how to set up an A record, a CNAME record, and a TXT record.
Here's what I learned!
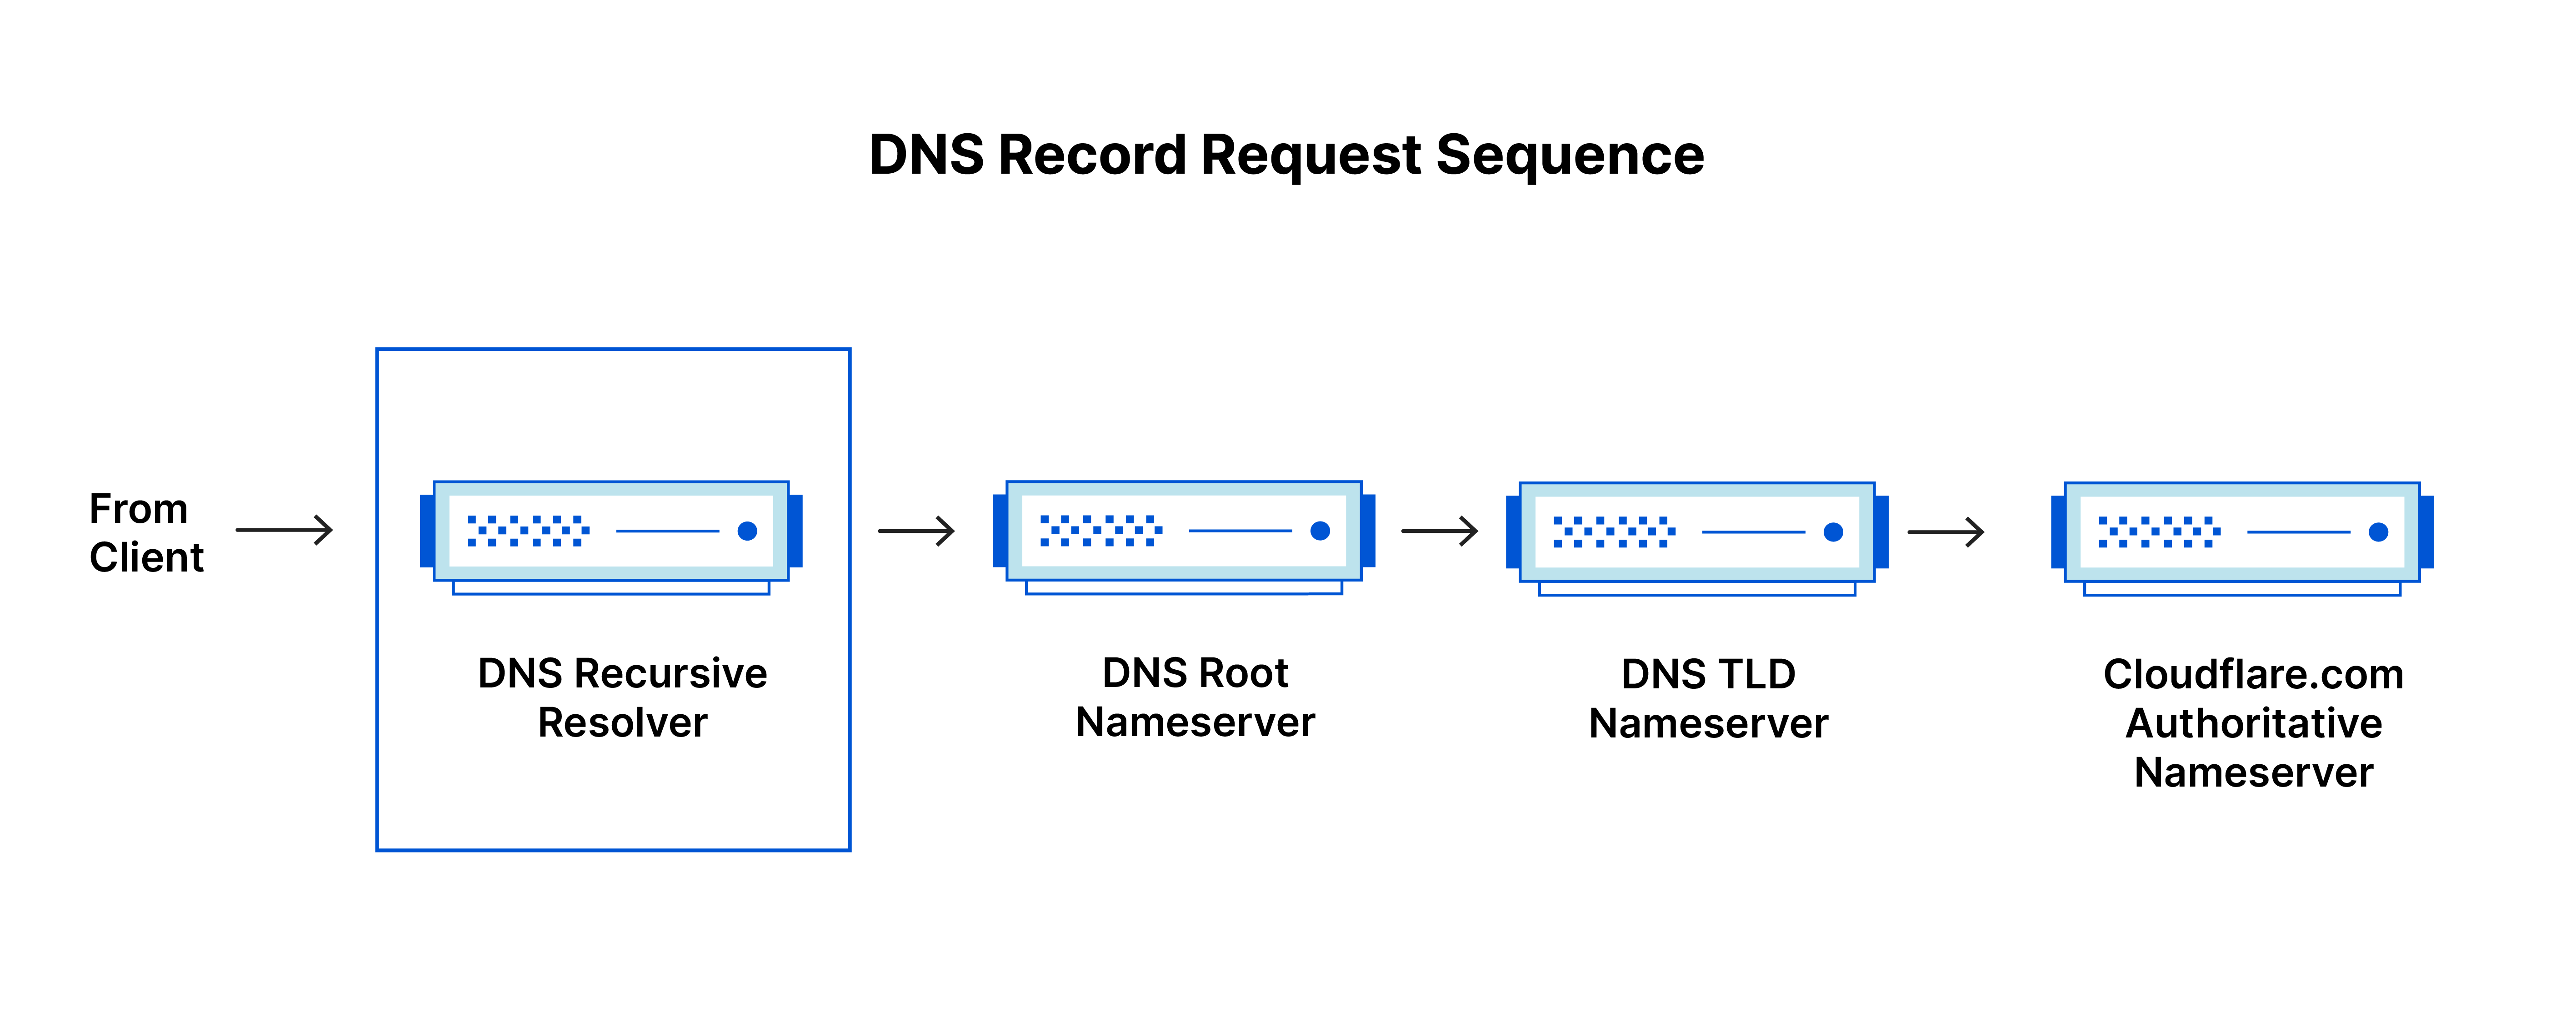
DNS is a system that translates domain names to IP addresses. This is done through a series of servers that are connected to each other.
These servers are usually owned by companies and are located all around the world in data centers. When you type in a domain name, your computer
uses its DNS resolver to send a request to DNS root name servers (configured on your computer). From there, the request reaches
the authoritative name servers, which are the servers that are responsible for the domain. The authoritative name servers then return the IP address
of the domain.

Example DNS request sequence (source)
In order to set up a domain, I had to set up an A record. An A record is a thing that points a domain to an IP address.
I simply pointed my domain to my network's IP address.
My network uses UniFi (a router system), so I had to set up a port forwarding rule. This rule would forward all traffic on port 80 to my server's IP address.
After this, it was just a matter of waiting for the DNS records to propagate. Now, my website is accessible to the world! That's pretty cool.
Okay, But What About CI/CD?
Oh right, I almost forgot about that.
I wanted to make sure that my website was always up to date. I wanted to make sure that I could deploy my website with a single command.
This is where CI/CD comes in. CI/CD stands for Continuous Integration and Continuous Deployment. It refers to
the practice of automating code integration and delivery.
In other words, I wanted to be able to update my website automatically whenever I made changes to the code.
At the moment, all of my source code is stored on GitHub. It would be nice if I could just push to GitHub and have my website update on my server.
Thankfully, GitHub Actions exists.
GitHub Actions is a feature of GitHub that allows you to automate workflows. I used this to automate the deployment of my website.
I made a short script that would SSH into my server and pull the latest changes from GitHub and rebuild the portfolio container.
By extension, this also meant that I had to port forward a port on my server to SSH. This was a bit of a security risk, but I was willing to take it (at least for now).
I then made a GitHub Action that would run this script whenever I pushed to the main branch. The reason I used a script was because I did not want to test the script by repeatedly pushing to GitHub (this would be quite a hassle). I made a separate script so that I could test it locally before running it online.
The secrets were stored in the GitHub repository's secrets (Settings > Secrets and variables > Actions). This way, I could keep the secrets out of the code.
Of course, if any changes were made to the more private parts of the website (like environment variables), I would have to
update that manually.
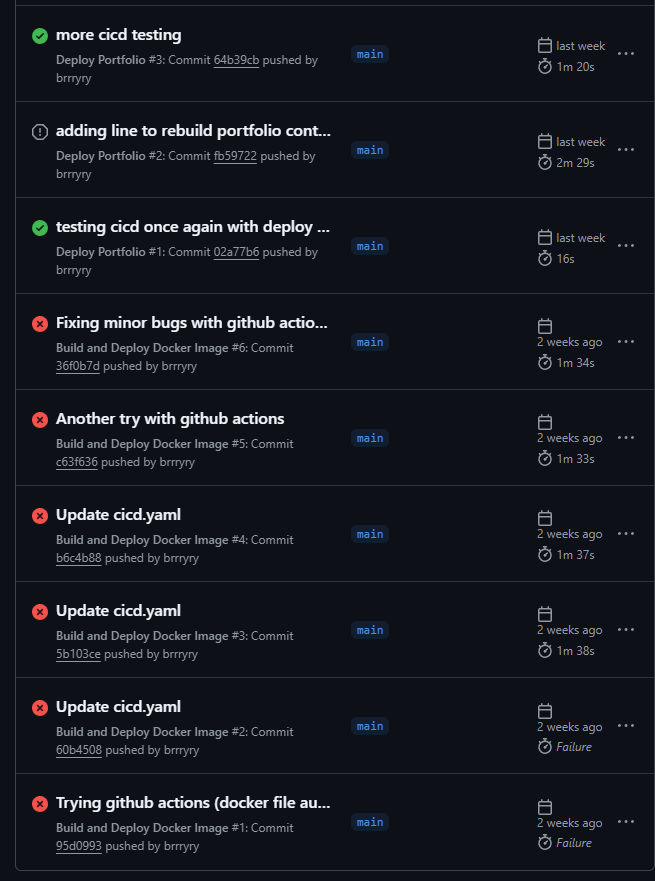
I was really excited when I saw my website update automatically for the first time. It was like magic.

GitHub Actions works!!!
With all of this set up, I was able to self host my website. I was able to update it with a single push to GitHub. There was only one problem...

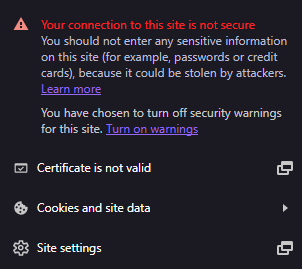
No SSL, not secure :(
SSL Certificates
AAAAAUUUUUUUGGGHHHHHH. I forgot about SSL certificates.
To give a brief rundown, Secure Socket Layer (SSL) certificates are certificates that encrypt the connection between the client and the server.
It is also used to verify the identity of the server.
Without SSL, the connection between the client and the server is not secure and can be intercepted. For example, if you use
a public WiFi network and log into a website without SSL, your login information can be stolen. This is...really bad.
In the context of my website, my Secret Santa website has a login system. Without SSL, someone could intercept someone's login info.
I really didn't want that.
Thankfully, there is a service called Let's Encrypt that provides free SSL certificates.
I used a Docker container called Certbot to get these certificates.
First, I added a new service to my Docker Compose file. This service would run the Certbot container.
The Certbot container and the Nginx container share a few volumes. This is so that the Certbot container can write the
certificates for the Nginx container to read and use.
After this, I had to edit the Nginx configuration file so that I could obtain the certificates.
This configuration file completely removed the proxy pass to my portfolio (for now).
After this, I had to restart my other containers and run a command on the Certbot container
in order to get my certificates.
In this case, [domain] would be bryanchan.org. This took a couple tries, since I didn't know that Nginx had to be restarted and running.
However, in the end, I was able to generate my first certificate.
Finally, I edited the Nginx configuration file to use the certificates.
After this, I restarted the Nginx container and...it worked! I had SSL certificates on my website.
Look at that beautiful lock.

SSL works!!! Look at that lock!!!
And...that's where we are now!
Conclusion
I am now self hosting my website.
I have a CI/CD pipeline set up.
I have my own SSL certificates.
I am now in control of my website.
To you - the user, nothing has changed. The website still looks the same. Heck, the website might even take longer to load since
there's no CDN. However, I am happy. I am proud that I was able to do this.
To the future!

The end
comments
no comments yet. be the first to comment!
please log in to post a comment.