As the school year comes in (I'm writing this in early August), I'm expecting to slow down my blog frequency (even though this is not guaranteed to be the case). With this in mind, I would like to start documenting my development process so that:
I don't lose track of what I'm doing and don't end myself over deprecated packages in a year or so
I can help other people understand how my blog works (and maybe even help them make their own one day)
This will be my first attempt at a more "formal" post - I'm hoping that this blog will have no glaring errors by the time I publish it.
After all, my last few blogs represented more of a tangent than an actual blog...
I would like to express my gratitude to this guy named Kevin for reading my blogs, checking my errors and (cough cough) breaking my models.
With this in mind, let's start diving into the code.
Setting Up NextJS
As of right now, I am using NextJS 14.2.5.
I set up my NextJS project the way the tutorial on their website described.
Here were the settings that I used:
This will create a Next app in a folder with your project's name on it.
I installed these packages for my blog, but not all of them are necessary (obviously).
next-mdx-remote- parsing remote .mdx files (honestly not necessary). I only use it for the MDXRemote component.gray-matter- parses frontmatter and content of .mdx filesdompurify- protects against XSS attacks (specifically because I use HTML injection for code blocks)husky- pre-commit and pre-push linting/formatting (make your code look good and readable)rehype- adds classes to code tags to enable fancy code CSS
You should familiarize yourself with the directories and what they are meant for.
If you enter the directory of your project and run the command npm run dev, you should be able to view your website if you go to localhost:3000 in your browser (I believe this is the default port - if it is not
3000, the terminal will tell you which port to
go to).
Next@14.2.5: default page
That's essentially it for the setup, but now it's time for the coding.
Note: please keep in mind that I am using the App Router.
The Home Page!
The App Router works in a way such that each folder is a route. For example:
- The page
/renders the JS fileapp/page.js - The page
/blogrenders the JS fileapp/blog/page.js. The page
projects/[id]renders the JS fileapp/projects/[id]/page.js(yes, this folder structure works for dynamic fetching as well!)
With that being said, my home page's source code (app/page.js) will be shown below!
Of course, I'm not gonna show all of it. If you want to see all of it, you can just go to my full source code (in the footer).
The important part here is the use of Tailwind CSS! As you can see, the div and unordered list both have styling.
The property name becomes "className" (as opposed to "class" in HTML). Now...what do the classes do?
The class "space-y-5" causes all the inner elements to be separated vertically. It essentially just adds
margin-top: 1.25rem;
to the element. Meanwhile, the "mx-6" sets the margin of each child element!
The great thing about Tailwind is that the documentation is very easily readable. You can actually just search up
"tailwind space between" and get the classnames required to do what you want!
\
here
is the link to the docs!
Look at these beautiful Tailwind docs
Now, you may notice that I'm missing a navbar. Where is it???
layout.js and Components
One of the great things about Next (and React) is components. You can make custom JS files that are both reusable and independent to the rest of the code where the component is used. For example, I have a few components:
- Navbar - to render the navigation bar at the top of my page
BlogList - to make lists in my blog (you are literally looking at it right now)
- BlogCode - to add code into my blog
- LatexWrapper - to add LaTeX into my blog
In order to make a component, you just need a JS file. I like to keep my stuff organized, so I have a folder:
src/components. To give an example, I'll show you my navbar code (src/components/Navbar.js).
The reason I have a duplicate link to each page is for responsiveness. If you read the Tailwind CSS, you can see the word "hidden" in the class name.
This is a Tailwind class that hides the element on a certain screen size. In this case, the navbar is rendered differently on mobile screens.
It is important to note that Tailwind is mobile-first. This means that the classes you write will be applied to all screen sizes and larger unless you specify otherwise.
If you would like to understand the CSS better, I highly recommend checking out the Tailwind docs!
Now...earlier, I mentioned that the navbar component was not in my home page's code. How did I add it? This is where layout comes in.
This file (app/layout.js) is a wrapper for all of my pages. This is where I add my navbar and footer. Everything else is rendered in the {children} prop.
As you can see, the navbar component is rendered at the top of the page!
All in all, this becomes very useful when you have a lot of pages that need the same components. Now...onto the next section!
The Blog Page
The blog page is a bit more complicated than the home page. This is because I have to parse the frontmatter and content of the .mdx files from a different directory.
All of my .mdx files are in the src/posts directory. The blog page (app/blog/page.js) is shown below.
The important part here is the use of the getSortedPostsData() function. This function is in the src/lib/posts.js file. The "@" symbol
is a shortcut to the "src" directory (we told the program not to change that shortcut when we initially set up the project).
Since this file is not in the App Router (src/app), it is not able to be accessed by the browser. This means that the function is only used in the server-side rendering of the page.
This ended up causing some problems for me later, but we'll get to that when we cover it.
The function essentially reads all the .mdx files in the src/posts directory and returns them in a sorted array. It also gets all blog tags and returns them to be rendered.
This function uses the fs and path modules to read the files in the directory. It then uses the gray-matter package to parse the frontmatter of the .mdx files.
The function also takes in a tag as an argument. If the tag is not empty, the function will only return posts with that tag. This version of the function is used to render blogs in
the page /blog/[tag]/tag (filtered blogs by tag).
Now, let's get into the actual blog post page! Here is the code for the page app/blog/[id]/page.js (you're looking at this page right now)!
The first part of my return statement simply renders the frontmatter of the .mdx file in a slightly nicer format.
The getPostFromId() function is in the same file as the getSortedPostsData() function. It reads the .mdx file with the id params.id and returns the content and frontmatter.
The MDXRemote component is used to render the content. The components prop is used to render custom components (the ones I made) in the content. This allows me to write something like
in my .mdx files!
Now, let's get to the interesting part: the process. Most of the next section will be about the process of making the custom components - not the code itself. The tutorial basically
ends here.
Blog Format and Components
This part exists for the purpose of documenting my thought process.
I wanted to make my blog as readable as possible. This took me a long time to learn. Originally, my blog was just a bunch of text and HTML that spread across the entire page.
If you look at it now, it only takes up to a maximum of 56rem (896px) of the page width. This was for the sake of responsiveness - it simply looked out of place when
viewing the original version of my blog on a mobile viewport. This was also due to the inspiration of other people's blogs, since most of them were also not a full page's width.
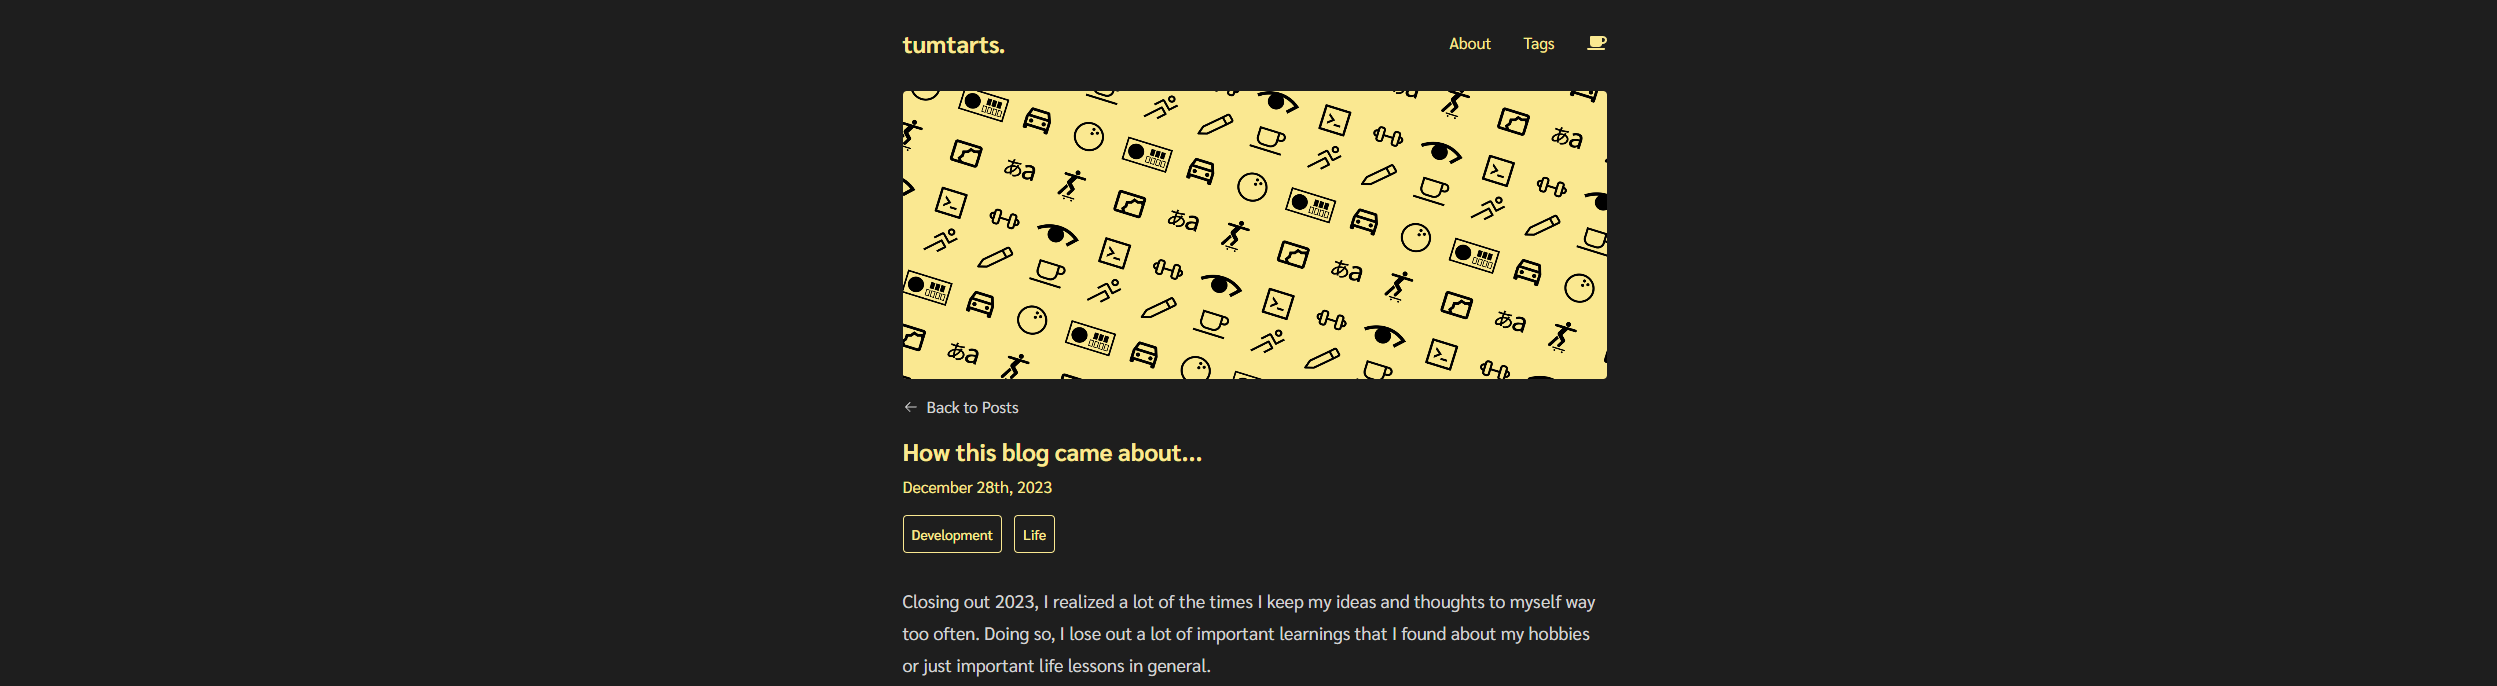
Example: Tumtarts blog - a blog that inspired me :D (source)
In the code shown earlier, you can see that the article tag has the class "min-w-0 max-w-4xl". This sets the minimum width of the article to 0 and the maximum width to 4xl.
For the most part, this helped my text stay readable. However, I also wanted to add a template for images, as it was getting painful to type out the HTML for each image. For example, this was the HTML behind my first image in my blog (INSURE 2024):
I was getting quite tired of copy and pasting the same code over and over again. This is where the BlogImage component comes in. Now, I am able to write this instead:
(This is the code for the image above)
It makes things easier and more readable when I am reviewing my blogs.
Now, let's talk about the LaTeX. When I was writing my last blog (Cat or Car), I wanted to explain some of the basic math behind a neural network.
However, I was not able to render it in a nice format without LaTeX. I spent a lot of time trying to figure out how to use KaTeX in my blog,
but I was not able to get it to work. This is specifically because I needed the LaTeX to render in the server-side rendering of the page (otherwise, I had to rewrite my lib functions
that I mentioned earlier). After spending about 2 days, I found a much simpler answer - a math API.
The math API I used was the math API Vercel app. By passing in a LaTeX string, I was able to get a PNG image of the rendered
LaTeX. It was kind of a lazy workaround, but...it works.
After getting the image, I needed to render it - preferably automatically - to scale, since not all LaTeX expressions would be the same size.
In order to do this seamlessly, I made the LatexWrapper component. This component takes in a LaTeX string and renders the image in a way that scales with the text. It estimates
the size of the image based on the length of the text I pass in.
Gives me this:
Cool! Now I can write math in my blog. But...what about code?
Originally, I just used the <code> tag to write code. However, it looked super ugly. In order to get syntax highlighting, I used the rehype package.
This package adds classes to the code tags in the .mdx files. I then used the BlogCode component to render the code. This component takes in a language prop and a content prop.
Thankfully, since the BlogCode component was a sub-component, I could render it on the client side. This meant that I could use the highlight.js package to render the code.
I also used the file atom-one-dark.css to style the "classified" code (the import line is in the main blog page).
The DOMPurify package is used to sanitize the code. This is to prevent cross-scripting XSS attacks (code injection).
Now, I can write code in my blog!
That's basically all I have so far, so let's jump to our final section:
Conclusion + Future Work?
It's been a while since I've touched NextJS (or any JavaScript for that matter), so this was a nice refresher. I am also happy that I am blogging, since this is a way to
document my progress!
There are a few things that I would like to do in the future:
- Add a search bar to my blog
Add a pagination system to my blog (especially if I keep blogging at this frequency)
- Add a Spotify API to my blog (maybe see what I'm listening to?)
Further optimize my blog components - maybe create new ones on demand (maybe cooking related, since I'm trying to learn how to cook - blog coming soon?)
I hope you enjoyed this blog! I will be back soon with another one.
If you have anything you'd like to or ask about (or suggest improvements), feel free to reach out I always love talking to new people :)
That's it! Byebye~